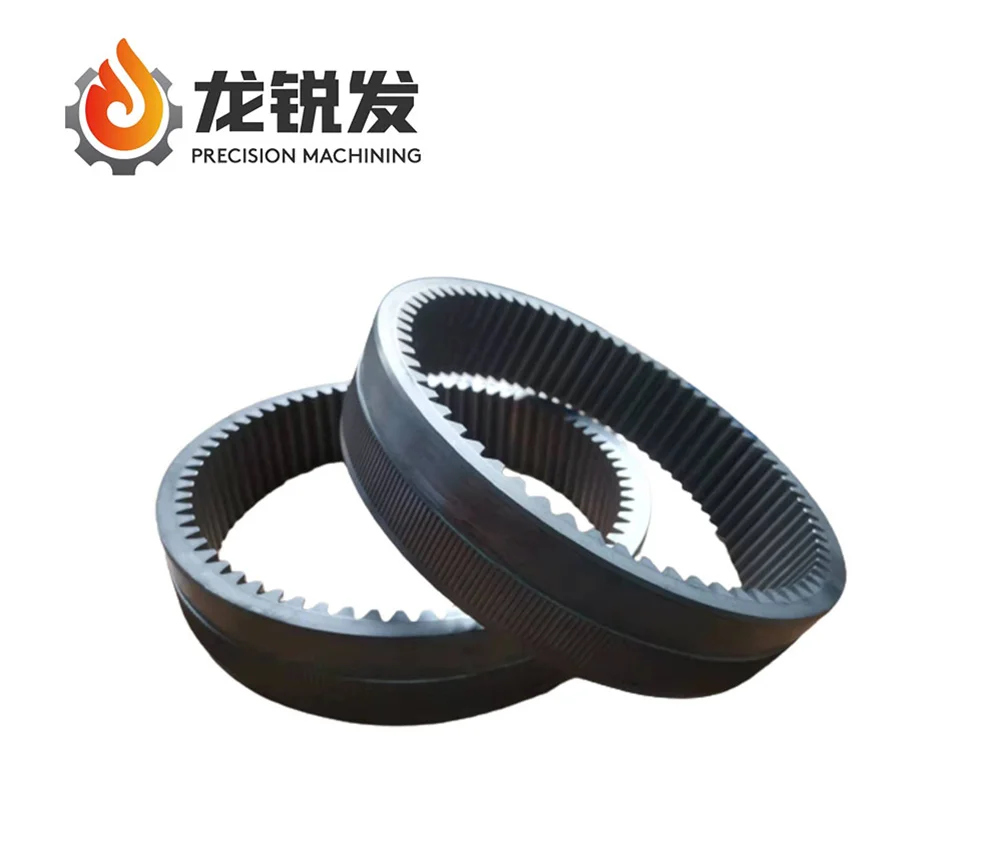
In the field of precision engineering, the performance, efficiency, and longevity of machinery hinge significantly on the quality of its components – none more so than gears. These mechanical elements are fundamental to power transmission and motion control systems in custom precision machinery. Consequently, a comprehensive and technically sound gear quality inspection process is not just desirable – it is imperative. In this blog post, as a high performance industrial gear manufacturing factory, Longruifa will share custom precision engineering machinery gear quality inspection.
Importance of Gear Quality in Precision Engineering
Custom precision engineering involves the design and fabrication of machinery tailored to highly specific applications. These machines often operate under tight tolerances and demanding conditions, where even minute deviations in gear geometry or material properties can cause unacceptable performance degradation, noise, vibration, or premature wear. As such, ensuring the quality of gears through robust inspection protocols is essential to uphold system integrity and reliability.
Core Parameters in Precision Gear Quality Assessment
Before delving into inspection techniques, it is important to understand the parameters that define gear quality. These include:
* Tooth Profile Accuracy: Deviation from the ideal involute profile.
* Lead and Helix Error: Variations along the gear tooth length or across helical gears.
* Pitch Error: Differences in spacing between gear teeth.
* Runout: Eccentricity between the gear' s bore and pitch circle.
* Surface Roughness: Influences friction and wear behavior.
* Tooth Thickness: Critical for backlash control and proper meshing.
Each of these parameters contributes to the overall precision and operational smoothness of gear assemblies, especially in high-performance or high-speed applications.

Precision Engineering Machinery Gear Inspection Techniques
To accurately measure the parameters listed above, a variety of gear inspection techniques are employed. These methods fall into two broad categories: analytical inspection and functional inspection.
Analytical Inspection
Analytical inspection involves direct measurement of gear geometry against theoretical ideals using high-precision instruments. Common analytical methods include:
1. Coordinate Measuring Machines (CMMs):
* CMMs equipped with gear-specific probing software can measure complex gear geometries including tooth profiles, lead, pitch, and runout.* Advantages include high accuracy, digital data acquisition, and versatility.* Particularly suitable for large or non-standard gears in custom machinery.
2. Gear Measurement Centers (GMCs):
* Specialized machines designed specifically for gear metrology.* Capable of evaluating profile, helix, pitch, runout, and tooth thickness in a single setup.* Some models offer integrated thermal compensation and vibration damping to enhance repeatability.
3. Surface Roughness Profilometers:
* Measure the micro-topography of gear flanks to assess surface finish.* Contact and non-contact (optical) options available depending on material sensitivity.
4. Optical Scanning Systems:
* Utilize lasers or structured light to create 3D representations of gear geometry.* Useful for complex forms and reverse engineering applications.* Faster but potentially less accurate than tactile systems, depending on resolution.
Functional Inspection
Functional inspection evaluates how a gear performs in a simulated or actual application scenario. Common methods include:
1. Single Flank and Double Flank Testing:
* In single flank testing, one gear is driven while the other rolls freely to detect variations in transmission error.* Double flank testing involves both gears in tight mesh, measuring radial deviations.* Provides insight into noise, vibration, and backlash characteristics.
2. Rolling Test Rigs:
* Simulate operational conditions by rotating gears under load.* Measure real-world attributes such as torque transmission efficiency, dynamic behavior, and contact pattern accuracy.
3. End-of-Line Testing:
* Often employed in production environments.* Combines multiple inspection aspects including noise, vibration, and harshness (NVH) metrics.* Ensures only conforming units reach final assembly or shipment.
Gear Quality Standards
Inspection results are typically evaluated against industry standards to ensure consistency and interoperability. Some widely adopted standards include:
* AGMA (American Gear Manufacturers Association):
* Defines quality grades from Q3 (low) to Q15 (very high).* Includes tolerances for pitch, profile, lead, and runout.
* DIN (Deutsches Institut für Normung):
* Common in Europe; DIN 3960 to DIN 3967 define gear quality.* Aligns closely with ISO standards.
* ISO (International Organization for Standardization):
* ISO 1328-1 specifies accuracy of cylindrical involute gears.* Offers a unified framework for international trade and collaboration.
Compliance with these standards not only ensures performance but also facilitates cross-border manufacturing and integration in complex machinery.
Conclusion
Gear quality inspection in custom precision engineering machinery is a multidisciplinary effort requiring a deep understanding of mechanical design, metrology, and materials science. With the proliferation of advanced manufacturing techniques and the growing complexity of custom machinery, precision in gear inspection is more crucial than ever.
By employing a combination of analytical and functional inspection methods, adhering to stringent standards, and embracing emerging technologies, engineers can ensure that gears perform reliably and efficiently under the most demanding conditions. In doing so, they not only extend the lifespan of custom machinery but also uphold the principles of precision that define the discipline itself.
www.lrfgears.com
Longruifa
